
|
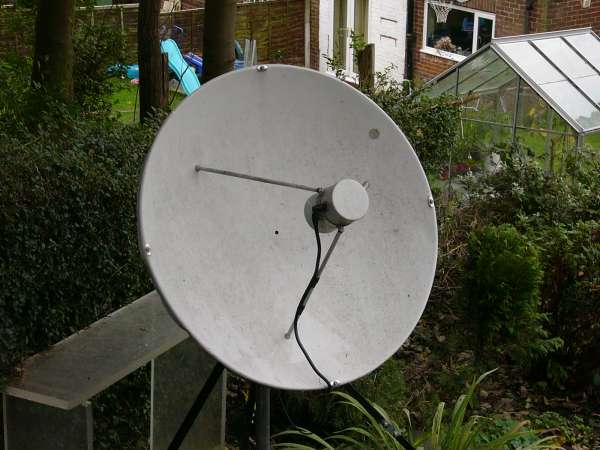
The meteosat set-up |
|
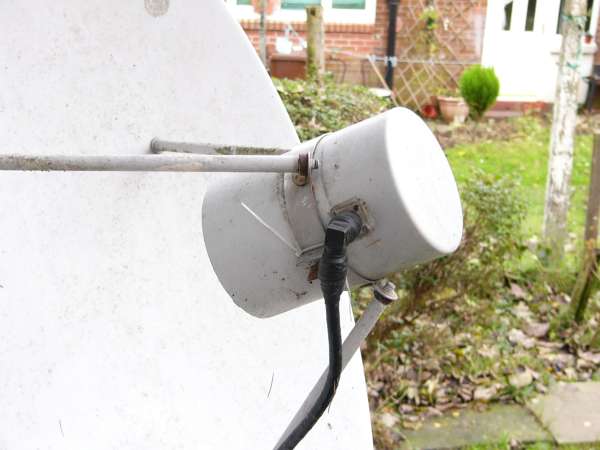
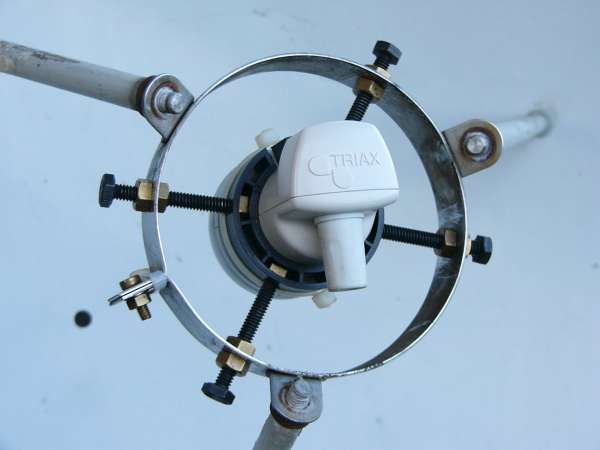
3 rods from the dish support a stainless steel band which clamps the "horn" feed. An N type connector is connected to the actual antenna, which is... |
|
...no more than a machined "bolt". Of course, the dimensions of this are critical. The "can" that this bolt is fixed into, and the 1 metre dish, only serve to focus the signal on this "bolt" |
|
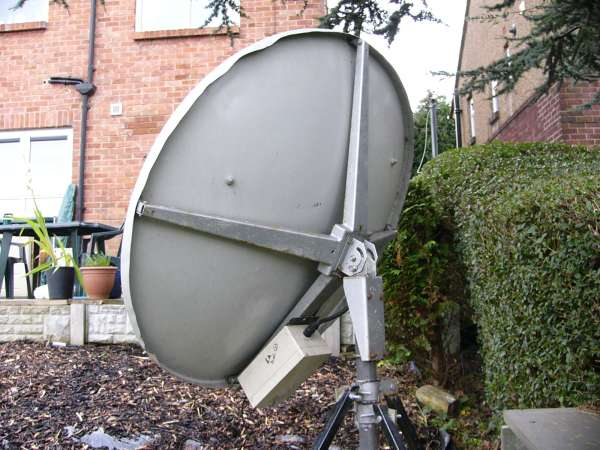
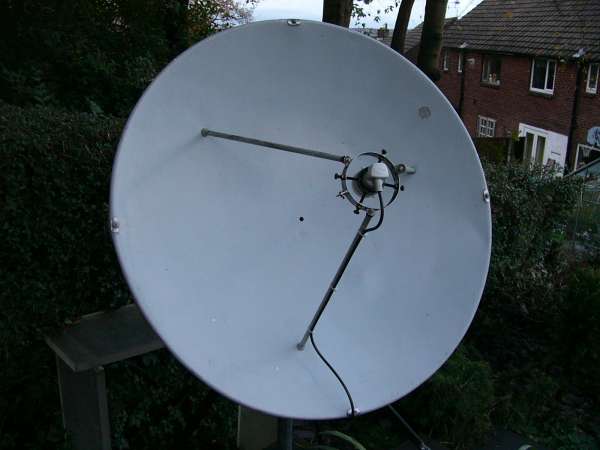
View of rear of dish showing slots which allow elevation adjustment, and the down-converter (fastened to the lower dish support arm). The down-converter converted the 1.69GHz signal to 137MHz |
|
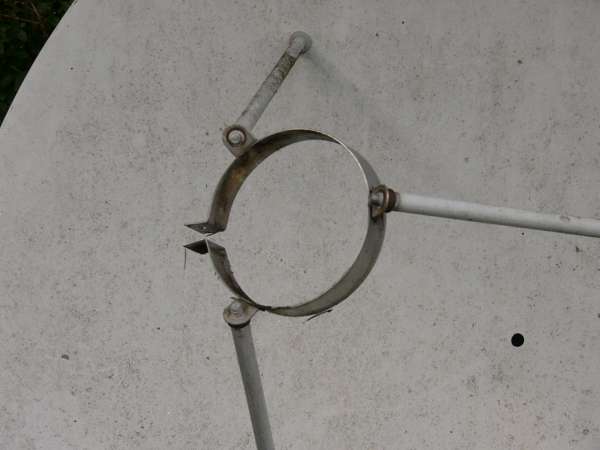
The mounting band without the "can" |
|
In order to mount the universal LNB, I obtained a 40mm (LNB) to 60mm adaptor and applied some ingenuity. The hardest job was drilling 4 holes in the 120mm diameter stainless steel mounting band. |
|
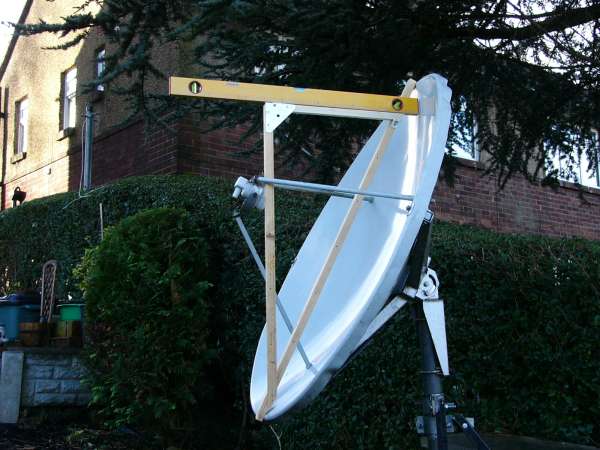
In order to set the elevation I "knocked up" a right-angled triangle made from 3 pieces of wood. The lower angle was set to the 27 degrees suggested as the correct elevation for Hotbird from my location. Rather than measure the angle with a protractor, I used some basic mathematics to calculate the length of the "opposite" and "adjacent" dimensions. I thought this would provide better accuracy. This elevation was then adjusted with the aid of the spirit level. |
|
The LNB wired up with new cable. The Meteosat arrangement required 50 ohm coax. The LNB uses 75 ohm coax. You may notice that I took the opportunity to clean the dish surface, but it probably makes very little difference to the amount of signal received at the LNB. |