Searching the internet I found the YouTube video (link above)
that convinced me it was just the resistor pack that had failed.
I was confident enough to order a replacement off Ebay so I could dismantle the
relevant sections (glove box etc.) and fit the replacement in one go, rather than remove
the existing resistor pack, then order the replacement, then fit it on a different day.
The tools I needed were a fairly large flat bladed screwdriver (to un-clip 3 panels) and a T15 Torx driver.
The torx driver shown in the YouTube video is worth buying. I struggled with an "allen key" type torx tool.
It would have been easier with a "screwdriver" with a handle.
I didn't need anything to remove the two hexagon head bolts shown in the video for the Mk4
because the layout and construction of my Mk5 didn't have those.
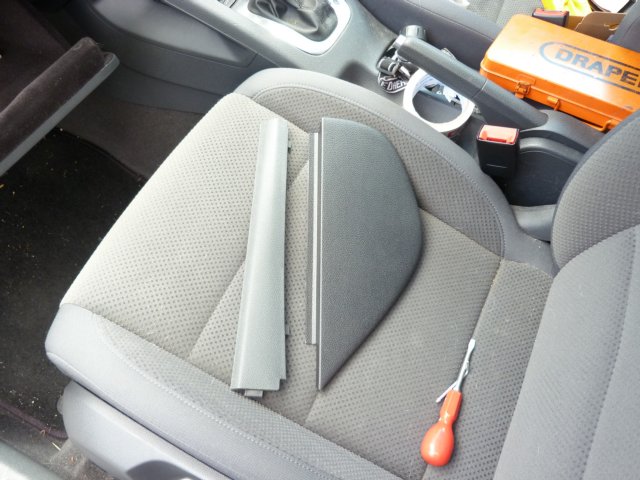
First Job - remove 3 plastic panels, 2 on the left, one under the centre console.
These should un-clip fairly easily using the flat bladed screwdriver.
(but it probably isn't necessary to remove the long thin panel)
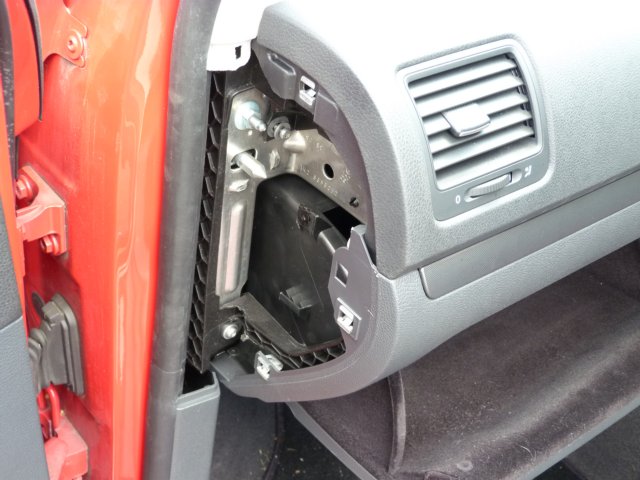
(Note- this photo was taken after I had removed the glove box)
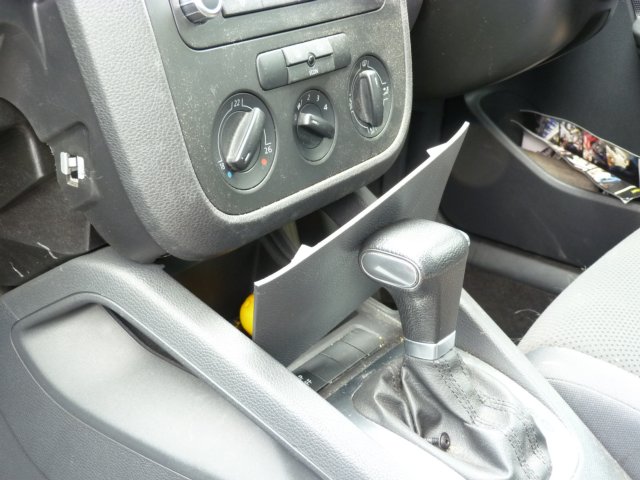
Next job - open the glove box and remove the 5 torx screws shown in the video.
Two of them have rubber stoppers that stop the closed glove box door from rattling.
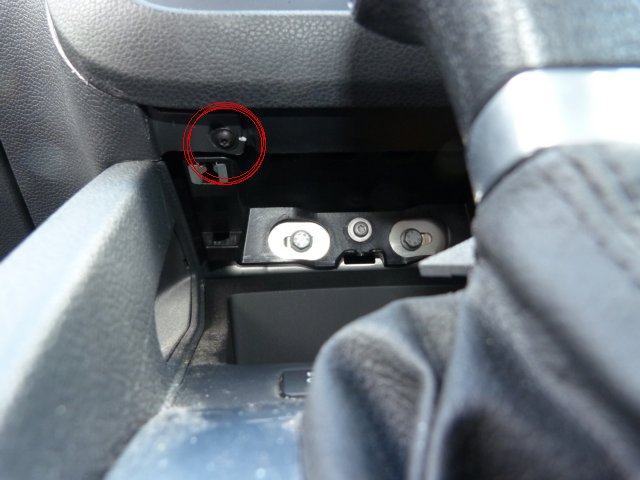
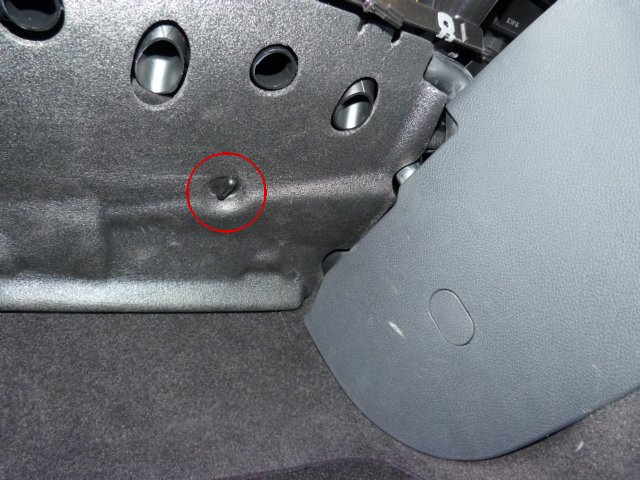
Underneath the glove box there are another 3 screws to remove.
On the Mk5 there is one extra screw underneath the centre console (shown in the red circle in the next photo)
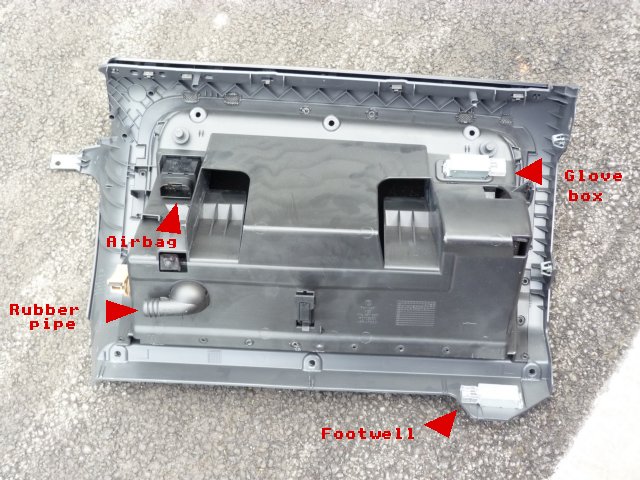
There are three electrical connectors and one rubber pipe that need to be removed
before the glove box can come away.
The electrical connectors un-clip (see example in the YouTube video).
They are for the foot-well light, glove box light and airbag key-switch.
The rubber pipe just pulls off a tube moulded into the rear of the glove box.
The next photo shows where these four items connect to.
Note that this photo is taken as if looking from the front of the car, so when sat in the passenger seat
the airbag connector is on the right and the glove box lamp connector on the left.
Once the glove box is out of the way you should be able to see the foam insulation
held in place by two plastic "thumb" screws.
Circled on the next photos. These just undo with your fingers. No screwdriver required.

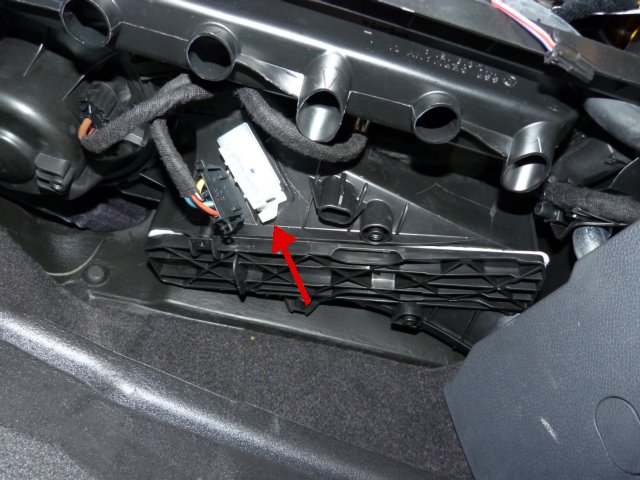
Removing the foam insulation and looking upwards from the foot-well you should now
be able to see the connector with 4 wires that is attached to the resistor pack.
To remove the connector, press the tabs in and pull.
To remove the resistor pack press in the flexible clip (see next photo)
and push the assembly in the direction shown by the arrow.
Mine needed quite a bit of force. The resistor pack then drops down.
For those old enough to remember Haynes Manuals... re-assembly is the reverse of all the above!
Good Luck.